INDY Guide
Getting Started: 1.0
Requirements: 1.1
- This device can be configured and controlled from the Simcore Control Center application available here: Simcore Control Center
- This device can draw a large amount of power and a powered usb hub may be required if issues are encountered
- To make full use of the RGB LED's the simhub software is required. it can be found here: simhubdash.com
Compatibility: 1.2
The Simcore INDY 2 is supported natively by SimHub.
for a full list of supported games, see the SimHub website.
The Simcore Control Center Software which is required to use some of the wheels features is
recommended to be used with windows 10 or newer operating systems.
Clutch Control: 2.0
Calibration: 2.1
If your device is configured with clutches they must be calibrated before use by following these steps.
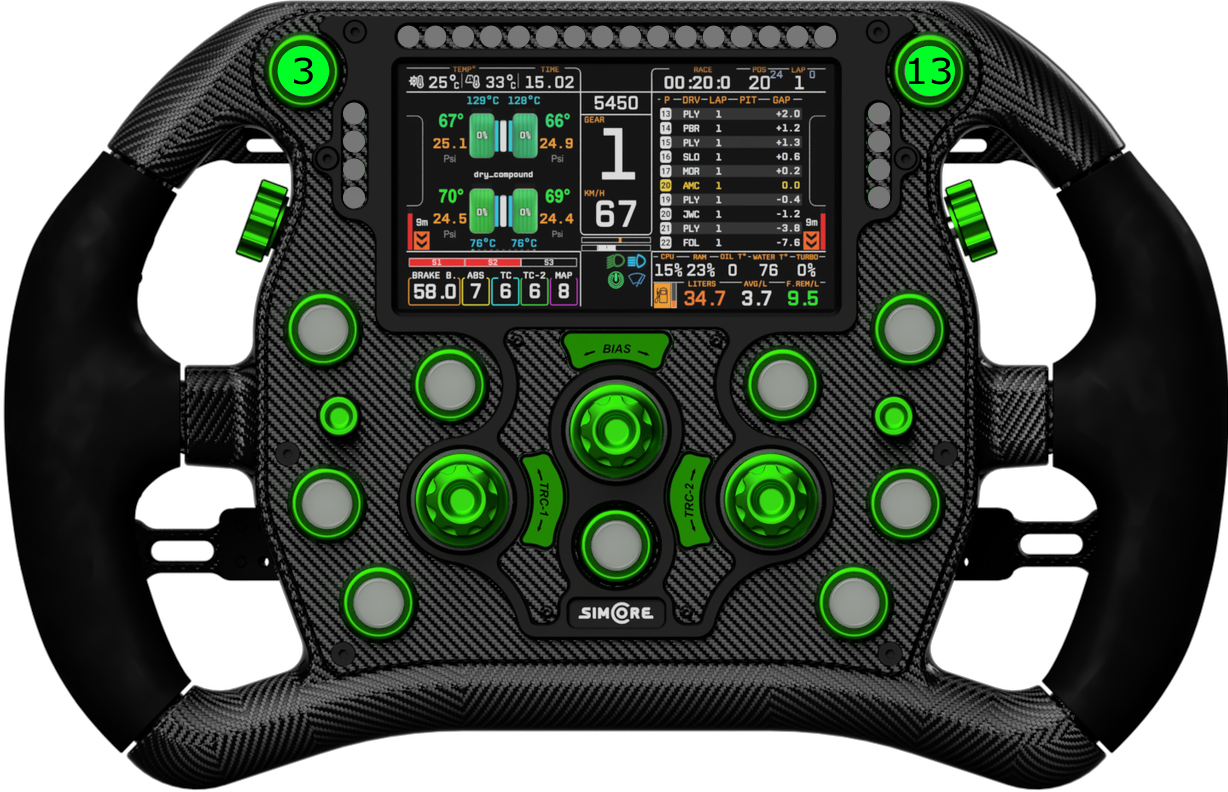
- Press and hold buttons 4 and 9 for 5 seconds as shown below
- This animation will appear to indicate you have entered calibration mode
- Once the animation has finished pull both clutches to their maximum position and then release
them to calibrate
- To finish press and hold buttons 4 and 9 again for 5 seconds to exit calibration mode and you
should see this animation to indicate the process is complete

Note: If used with very high LED brightness or in a high EMF environment the devices dead-zones may need to be adjusted in the software to compensate for additional noise.
Modes: 2.2
If your device is configured with clutches they must be calibrated before use by following these steps.
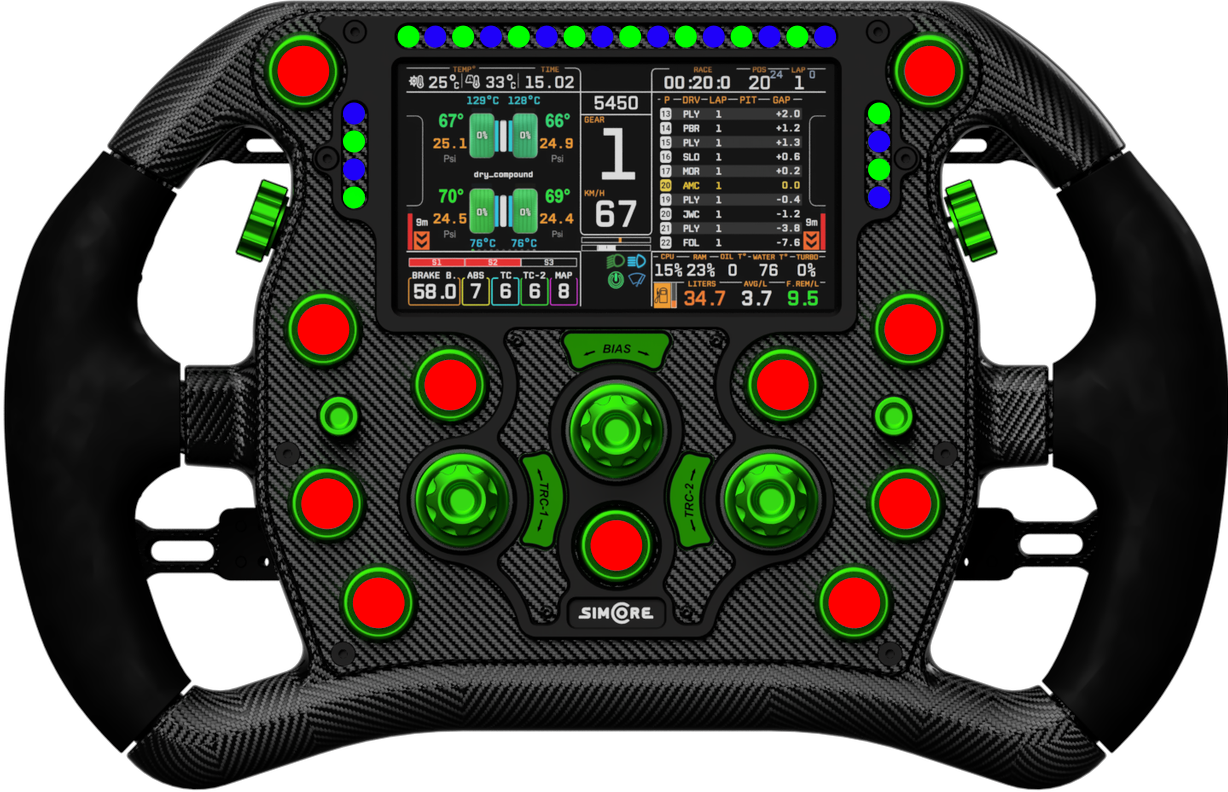
To Change Modes press and hold buttons 5 and 8 as shown below until the LED's flash a solid color
Independent Clutch Mode
If the LED's flash green as shown here: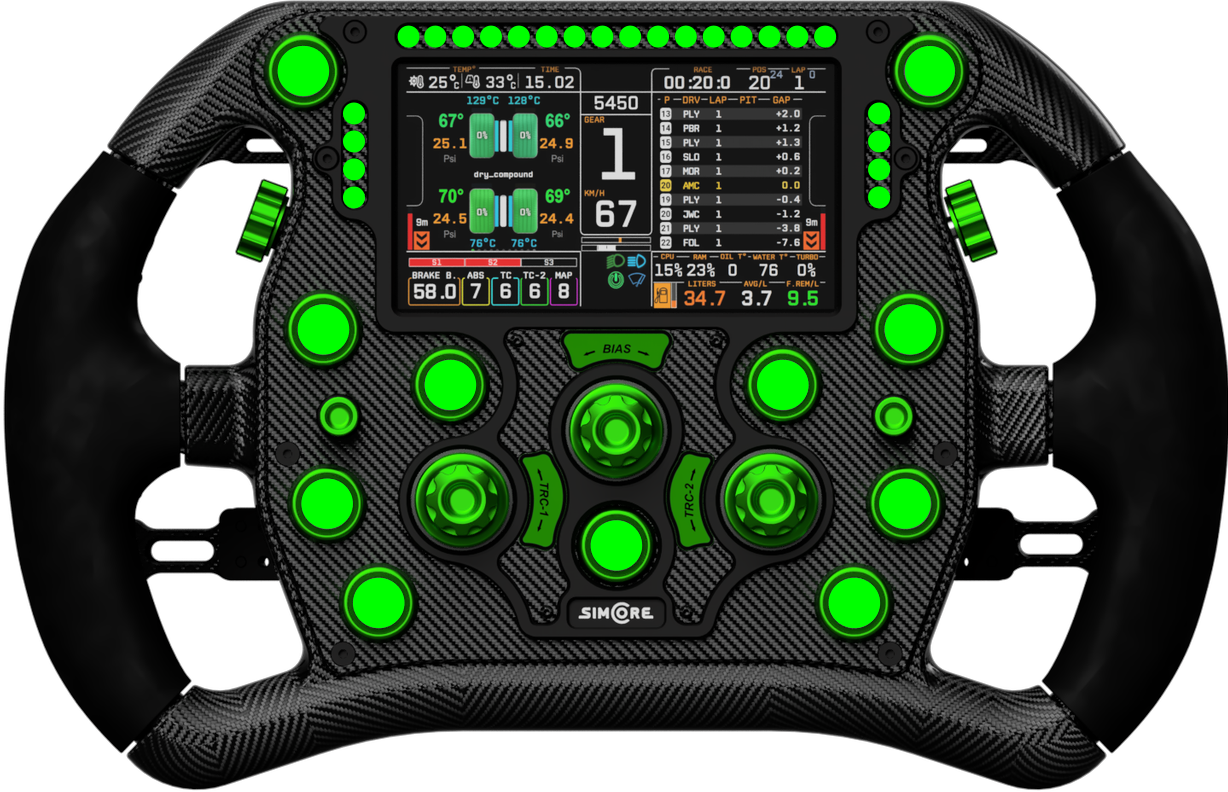
This indicates the device is in independant clutch mode. In this mode the clutches will operate as two seperate axes with the left clutch operating as Y-Rotation and the right clutch appearing as X-Rotation.
Combined / Bite Point Mode
If the LED's flash red as shown here: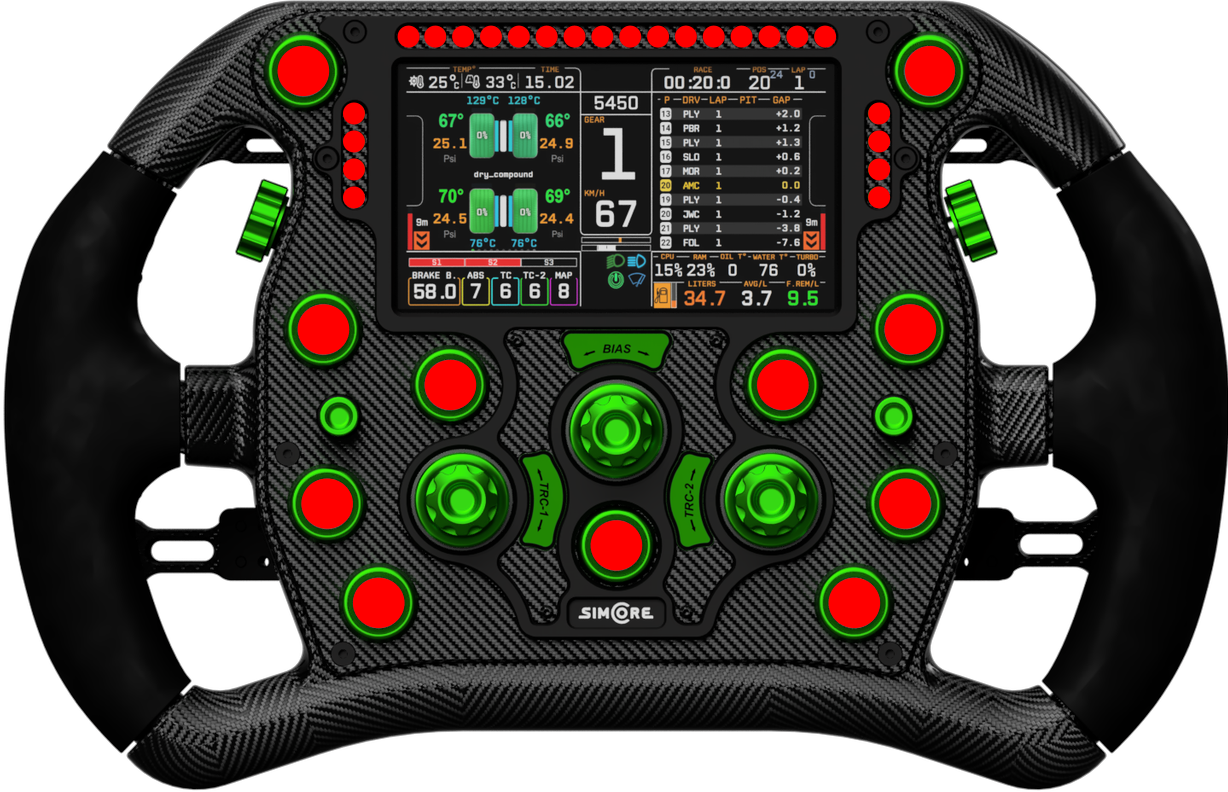
This indicates that the device is in bite point mode. In this mode both clutches are combined into the single Y-Rotation axis. For details on how to set the bitepoint and use this mode see the "Using Bite Point" section below
Using Bite Point: 2.3
To set the bite point there are two methods you can use which are explained below. The hardware method can be done without having to use the Simcore Control Center software and does not require you to leave the game you are playing. The software method allows for more accuracy and for the bite point to be saved as a profile.
Note: Make sure you are in the correct mode and that the correct axis (rotation-y) is assigned to the clutch in game before continuing.
Hardware Method: 2.3.1
To set the bite point using the hardware method follow these steps:
- Tap buttons 5 and 8 (same as mode button combo) with the clutches released to reset the bite point to 0%.
- When stationary in game pull the clutch on the side of your dominant hand all the way back so that the clutch is fully depressed.
- Apply throttle until you are in the ideal rev range for a start. Then gradually release the clutch until the car just begins to move
- Now that you've found the bite point tap buttons 5 and 8 again to set the bite point to the current position.
- With the bite point set the clutch on your dominant hand will be mapped to max out at the bite point. To change the bite point again just repeat the process above.
Adjusting bite point once set:
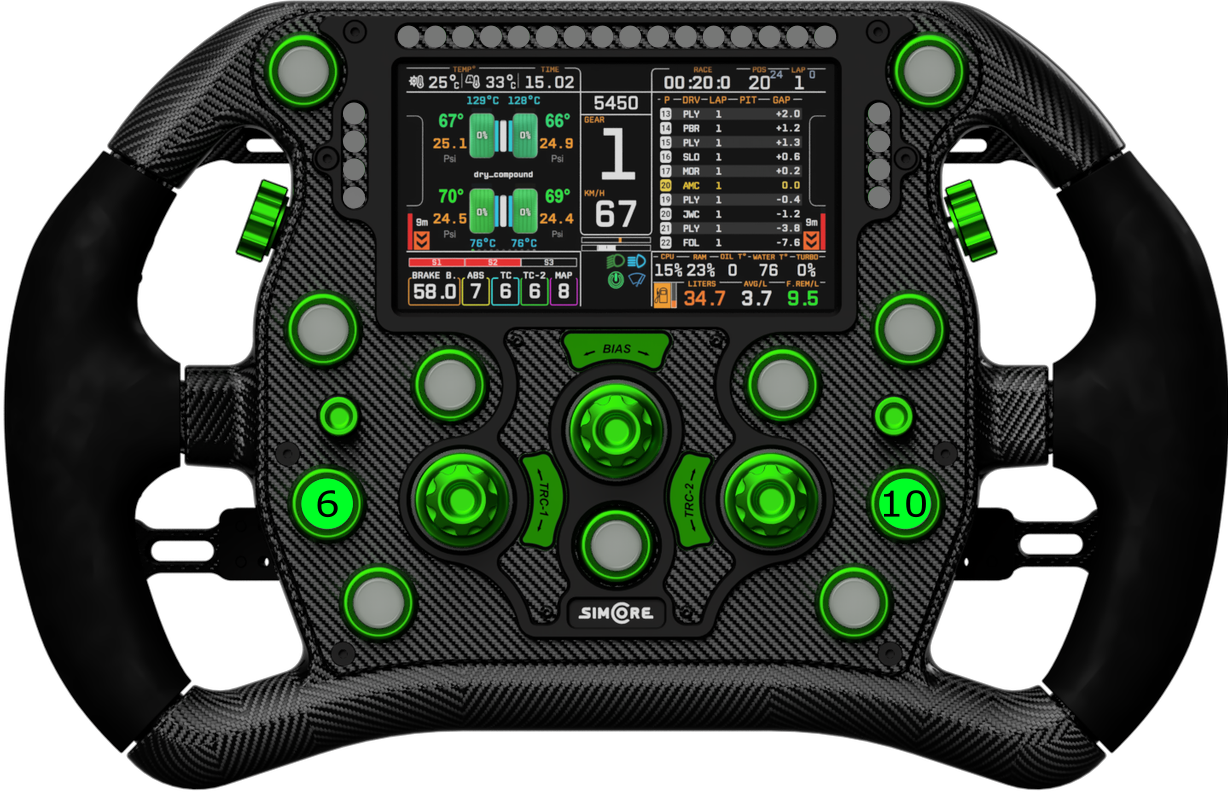
- The bottom encoders can also be used to adjust the bite point.
- The left encoder is used for fine control (±0.4%) the right is used for coarse control (±3.1%)
- To adjust the bite point press in and turn either the left or right encoder to increase or decrease the bite point
Software Method: 2.3.2
To set the bite point using the software method follow these steps:
Coming Soon...
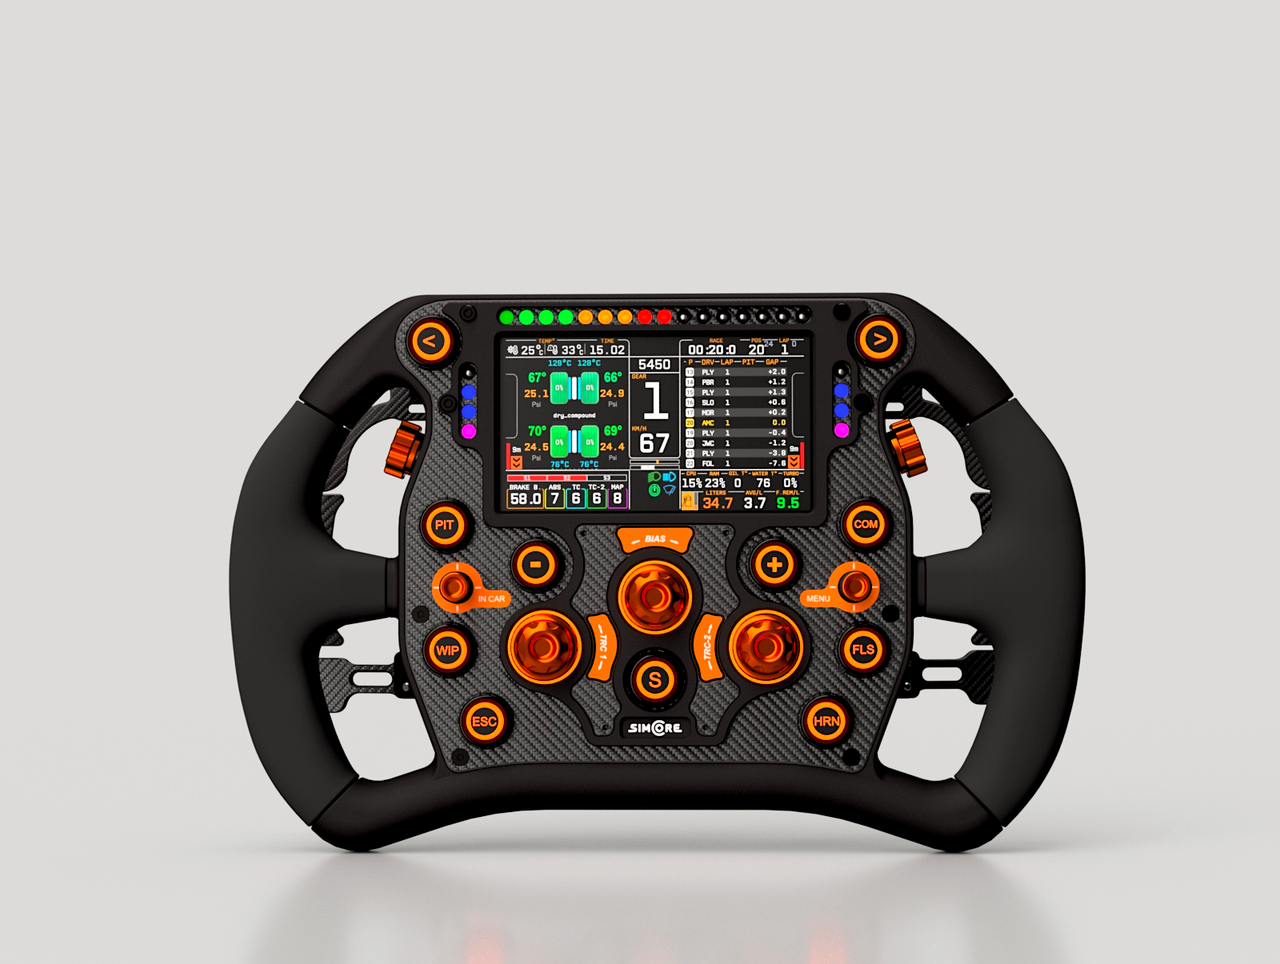
Features 3.0
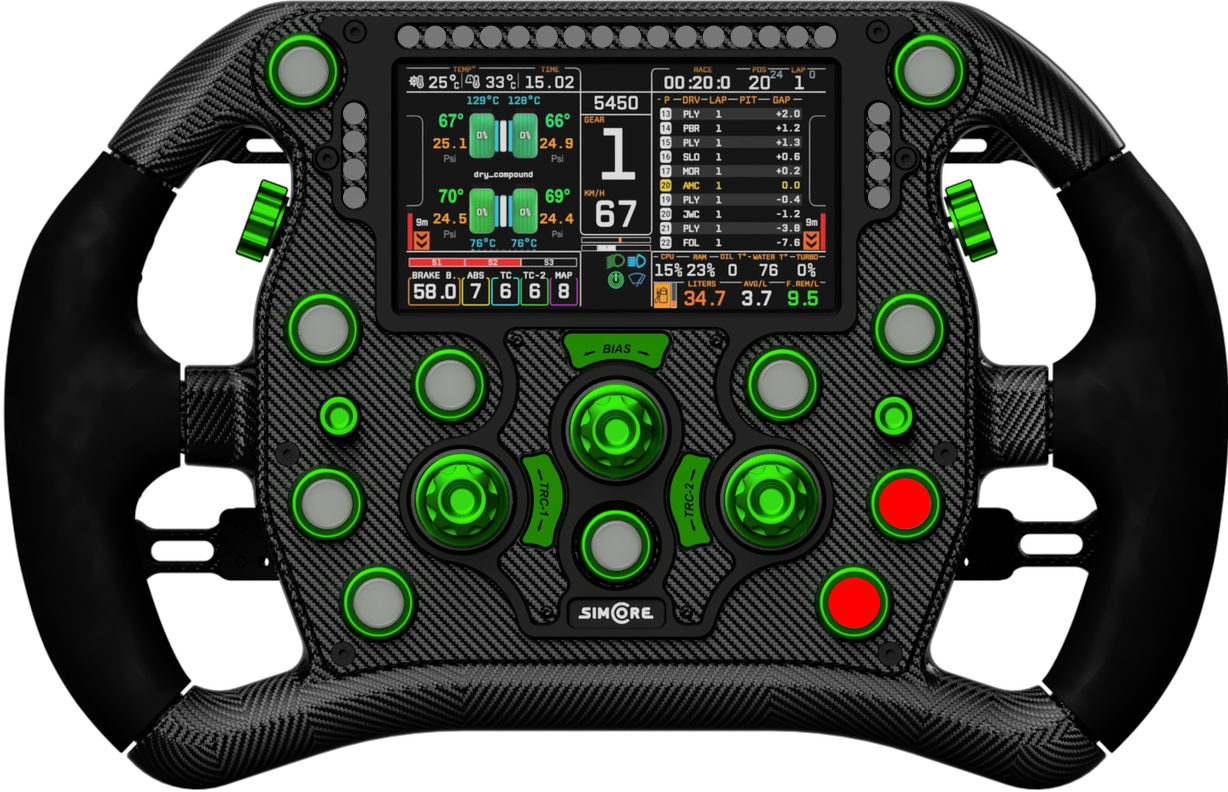
Funkys: 3.1
The left funky switch will always be mapped to
- Up - North
- Right - East
- Down - South
- Left - West
Default:
- Up - North East
- Right - South East
- Down - South West
- Left - North West
- Up - Button 33
- Right - Button 34
- Down - Button 35
- Left - Button 36
-
default mode is indicated by this led pattern:

-
alternate mode is indicated by this led pattern:
Encoders: 3.2
The INDY 2 uses 5 double duty encoders. These are typically Bourns encoders but can be individually swapped out for Elma encoders as an optional upgrade. When ordered as a factory option the Elma encoders will be pre-configured and ready to use. If you have swapped them yourself or had to reset the device you will need to follow the steps below to configure your encoders.
-
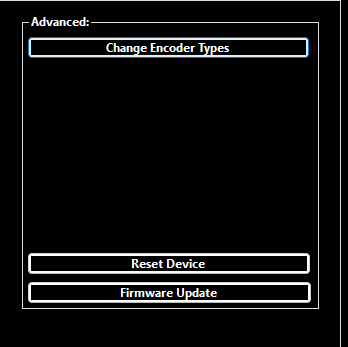
Open The Simcore Control Center app and go to the device settings tab.
-
In the device settings tab select Change Encoder Types in the advanced section
-
An Encoder Configuration window will open
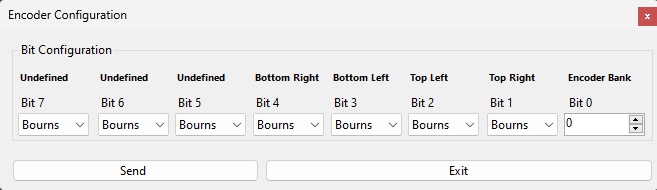
- As the INDY only has one encoder bank leave it at 0, Then for each encoder select the type of encoder you are using in each position from the dropdown menu. Any undefined positions can be ignored as they will not affect this device.
- Once you have selected the correct encoder types press the Send button to apply the changes.
- The Device will restart and the encoders should now be configured correctly.
Software Setup: 4.0
To use all the features of this device you'll need to download the SimCore Control Center application
from the link here
The application is available in either a standalone format or as an installer depending on which you
prefer. There is no difference in functionality between the two.
Update Firmware: 5.0
This manual is updated to match the latest firmware version so your device may need to be updated to
match any recent changes.
To update firmware go to the link here: Update Tool and follow the steps on the page
see below for more detailed instructions specific to your device:
- Unplug your SimCore wheel and any unneccessary usb devices from your computer.
- Using a chromium based browser (use microsoft edge if no other browser installed) go to the link here: https://www.simcoreworkshop.com/firmware-updater/index.html
- Select your device and the latest firmware version from the drop down menus (you can click on the changelog to view what's new)
- To enter bootloader mode on your wheel press and hold the left clutch while inserting the usb cable (you may receive a notification with a link to the SimCore website. This can be ignored)
- Once the wheel is in bootloader mode press connect and select SimCore Bootloader from the list.
- Press send to device to start the firmware update
- Do not unplug the device until the firmware update is complete
- Once the progress bar reaches the end and the site says firmware update complete you can unplug and reinsert your device to exit bootloader mode
- The firmware update is now complete and you can verify your firmware version using either the Simcore Control Center software or the downloadable SimCore Device Tester
Troubleshooting: 6.0
- Before trying any troubleshooting steps you should first make sure your firmware is up to date and that you are running the correct version.
- If you are having issues with your encoders or analogs not working correctly a reset may be required. To reset the device open the SimCore Control Center app and go to the device settings tab. In the device settings tab select Reset Device then continue. After the device has reset you will need to follow the steps above to configure your clutches and if you are using any elma encoders they will have to be reconfigured using the encoder config steps above.
-
If the clutches are not giving the full range even after device calibration you may need to reset windows gamepad calibration. To do this follow these steps:
- Open the windows search bar and type "joy.cpl" then press enter
- Select your SimCore Device and press properties
- Press the settings button and then the reset to default button
- Press ok and then calibrate the device again
-
If you still are having issues you may need to clear the device from the windows registry. To do this follow these steps:
- Open SimCore Control Center and go to the device settings tab
- In the device settings tab press "Reset Device In Windows"
- Unplug and reinsert the device to reinitialize it
- Open SimCore Control Center and go to the software settings tab
- In the software settings tab press "Reset Device Registry"
- unplug and reinsert any SimCore devices
- If you notice missing inputs on your right funky it may be in the alternate mode. To change this press and hold both funkys center buttons for at least 5 seconds.
- To check for any hardware LED issues run the LED test in the SimCore Control Center app. If any LED's are not working correctly please contact support.
- If you think there may be either a firmware or software issue please send a bug report using this link so we can fix the issue as soon as possible.